First things first. Leveling the trailer and removing the tail lights. What do you do when you are out on the Nipomo Mesa and need to move some dirt? Get your backhoe. Thanks Dad.

Brian installed the 2x4 with a 1/2" strip of plywood in order to fasten the subfloor to.
Almost done with the sides strips...
Looking good B.
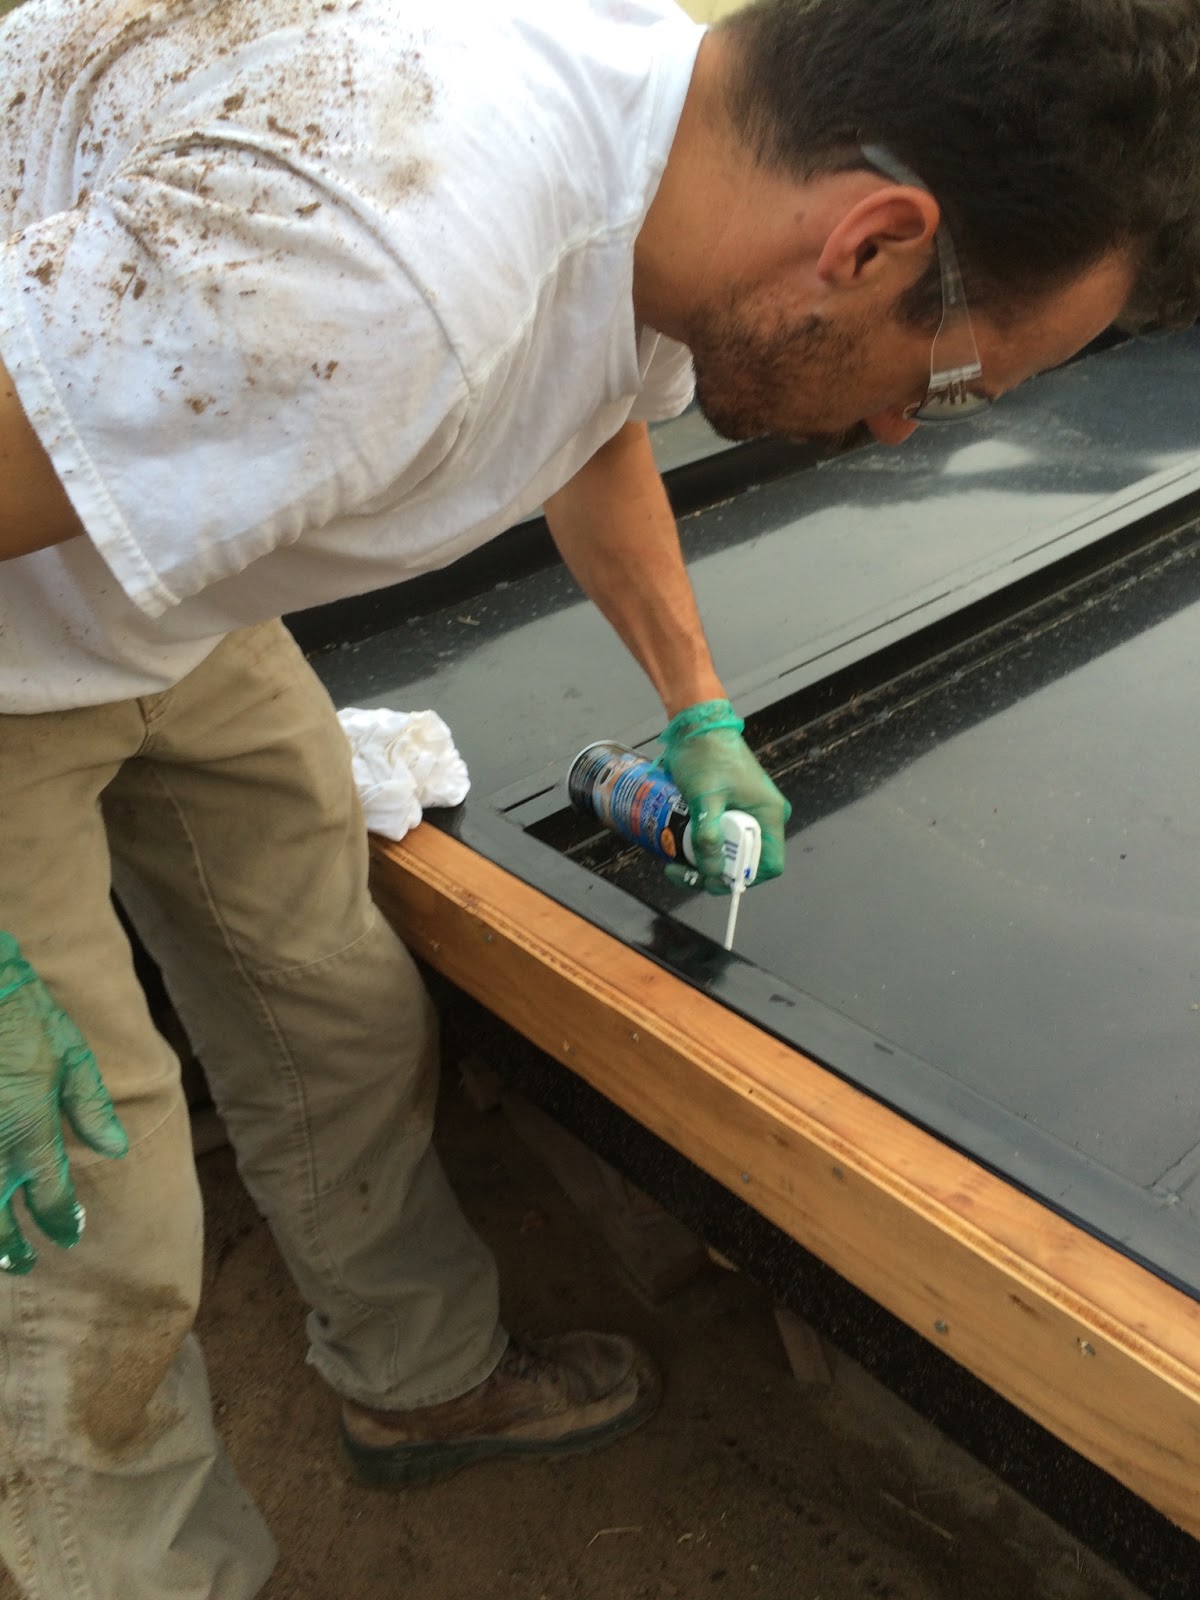
We sprayed a can of what seemed to be whipping cream in the air gaps where the flashing was welded on to the trailer to prevent moisture from coming up under the house.
Lot's of crawling under the trailer with Brian in
order to get all the cracks! Dries in 24 hrs.
We chose
Oregon Shepard for our insulation. It is natural wool! Our nickname for the house is "The Micro-Wooly-Mammoth".

Lot's of 2 3/4" self-tapping screws.... Mary, Brian's mama, gave me a bike glove eventually to ease my hand from the impact driver melting my palm away.
The subfloor is done!
First wall up. This process is the fastest- especially with a tiny house!
Now that we have the back half of the frames up, it is time to start getting in action about the windows, loft, and compost toilet and shower. Our windows are ordered and will be delivered mid-August and we will have to get the bathroom items in before we wall up the frames and get the loft built on top.
Cutting the parallam with Grandpa. These funny beams are compressed and glued heavy chunks of wood for the front shear wall.
Filing the hole so the parallam can fit on the welded all thread welded to the trailer frame. It's okay... it's persuadable.
Tiny photo bomb through the tiny house window frame!

The sun is setting. Time to put the tools back and enjoy some good food, beer, and relax.
My favorite tools so far: chalk line, impact driver, and the jig saw.

 Brian installed the 2x4 with a 1/2" strip of plywood in order to fasten the subfloor to.


 Lot's of 2 3/4" self-tapping screws.... Mary, Brian's mama, gave me a bike glove eventually to ease my hand from the impact driver melting my palm away.


 The sun is setting. Time to put the tools back and enjoy some good food, beer, and relax.
No comments:
Post a Comment